Create and configure a BlastShield™ SaaS Proxy Agent
Here is a summary of the steps required for the setup.
Create a BlastShield™ Exit Agent.
Create the BlastShield™ proxy instance.
Configure the end users
Configure conditional access rules on your SaaS application.
You first must create a virtual machine instance to use as an Exit Agent. This is a standard BlastShield™ Agent. Typically you will run this in the cloud, eg in AWS EC2 or Azure. Once you have this up and running, you can move on to installing the Agent, as shown below. The Exit Agent will be the exit point of your proxied connections to your SaaS provider.
Create an Agent in the Orchestrator and install the Agent software on your virtual instance. You can find instructions on how to do this here: Install a BlastShield™ Agent.
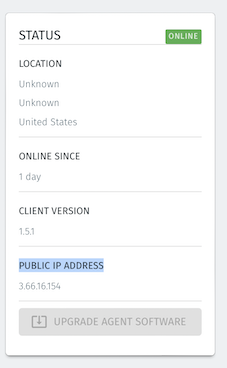
Once the Agent is running you will see the Proxy's exit IP address shown in the PUBLIC IP ADDRESS field in the Agent Status display in the Orchestrator. This will be the IP address to use in the conditional access rules of your SaaS provider.
This is where you will configure the proxy function and link it to the Exit Agent.
Go to the Orchestrator and click on the Proxies icon on the left hand menu, then click on the ADD NEW PROXY button on the right hand side.
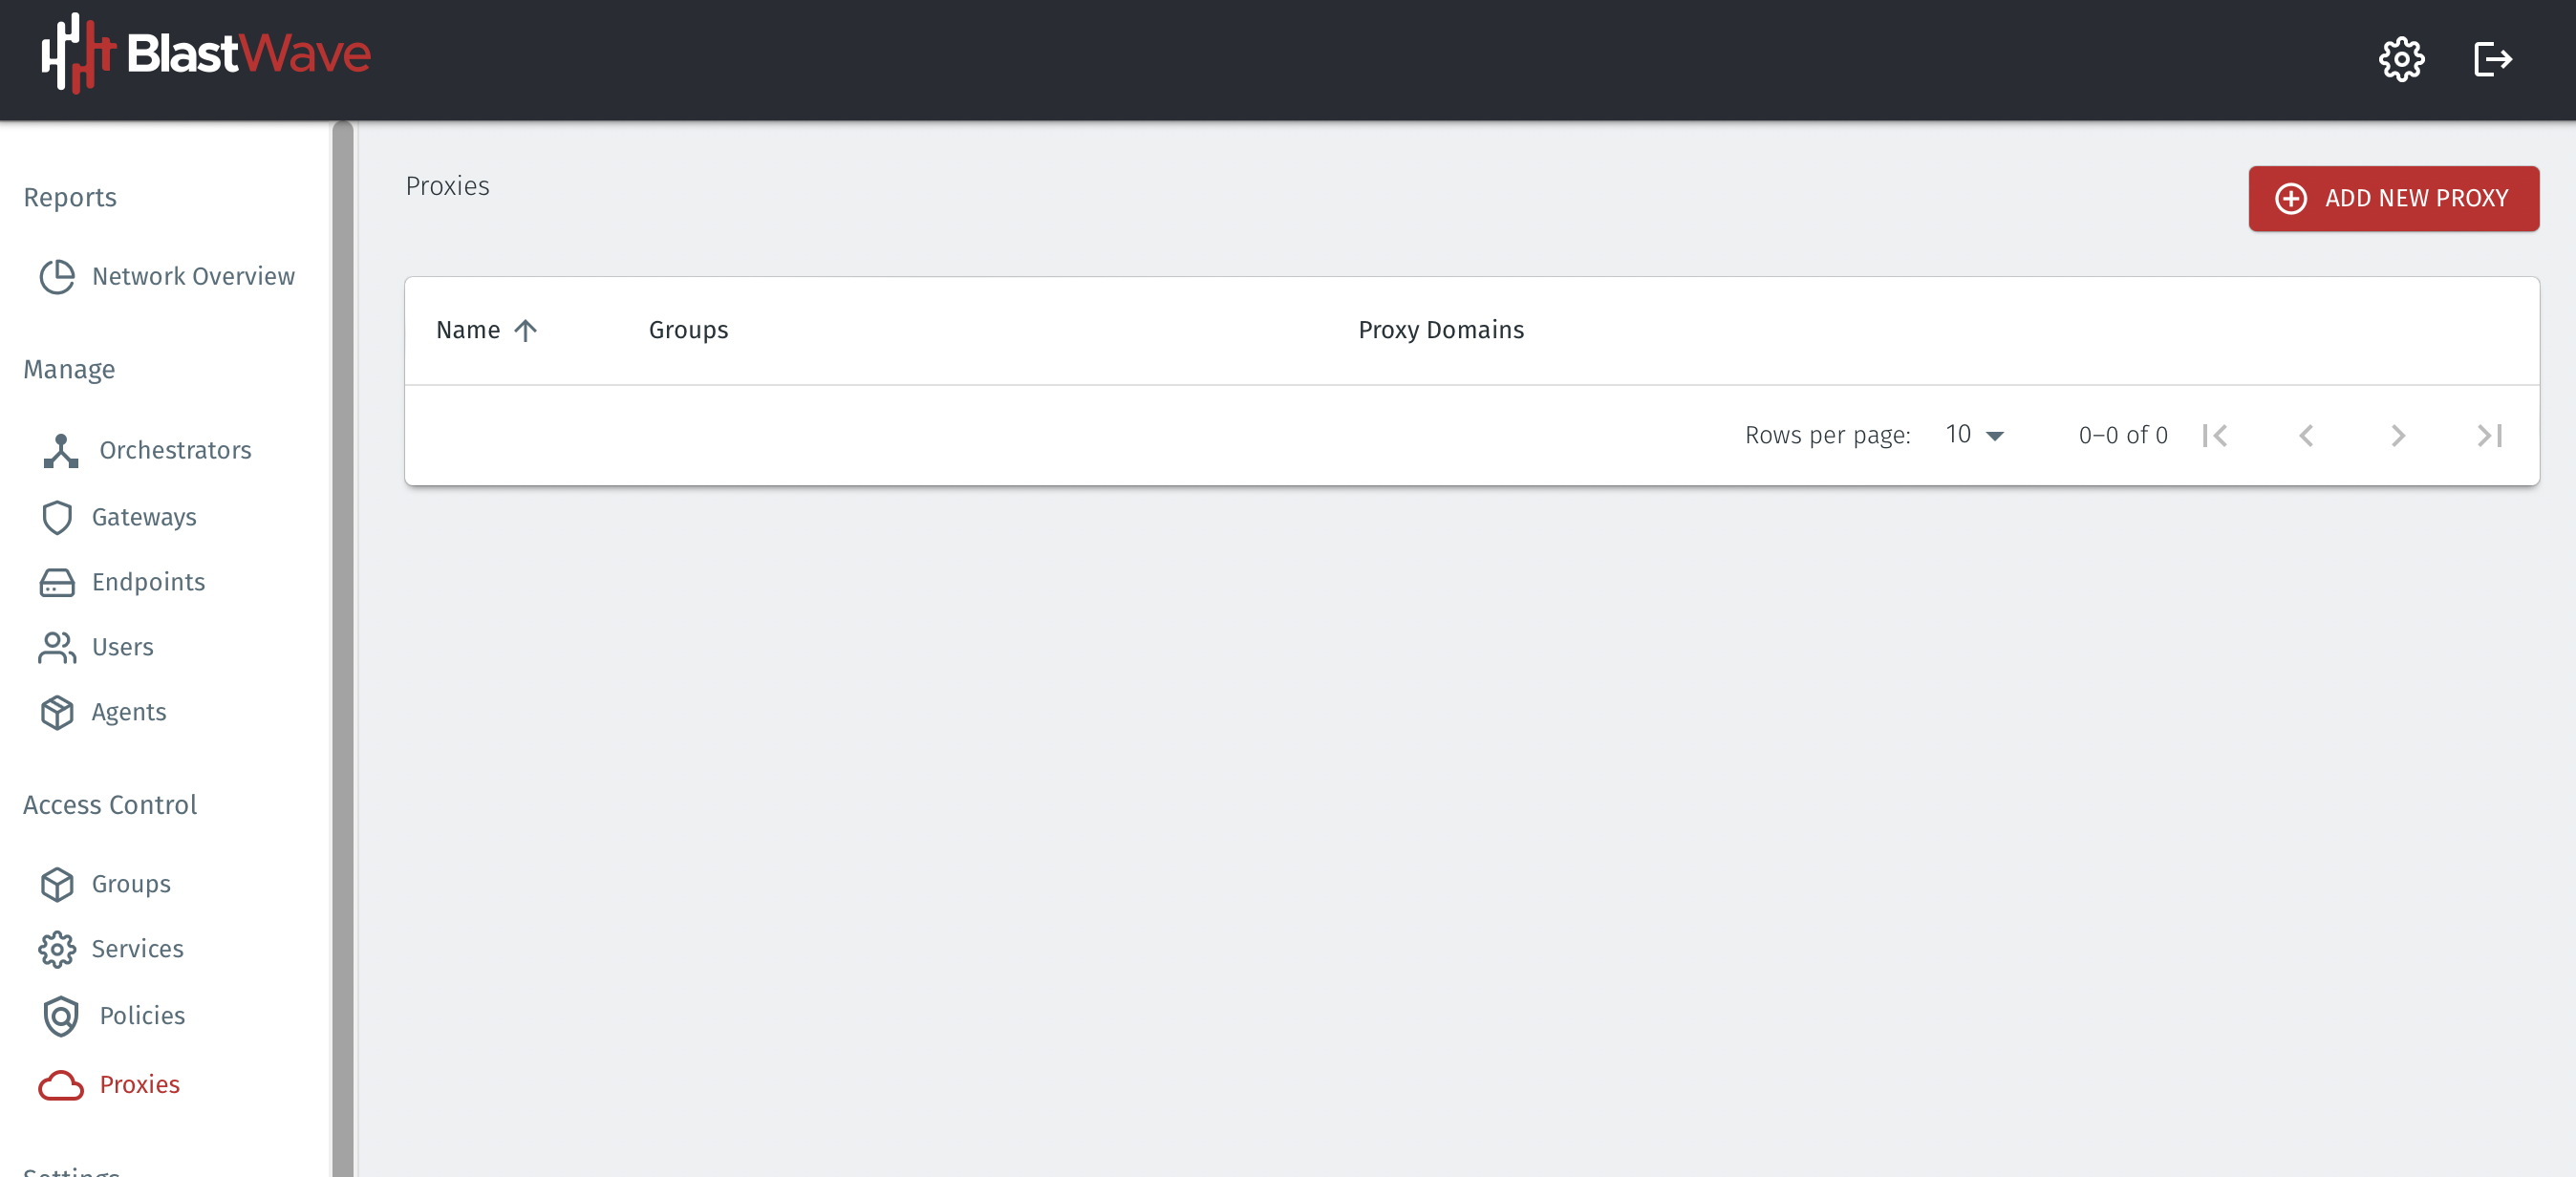
The Proxy settings window will appear.
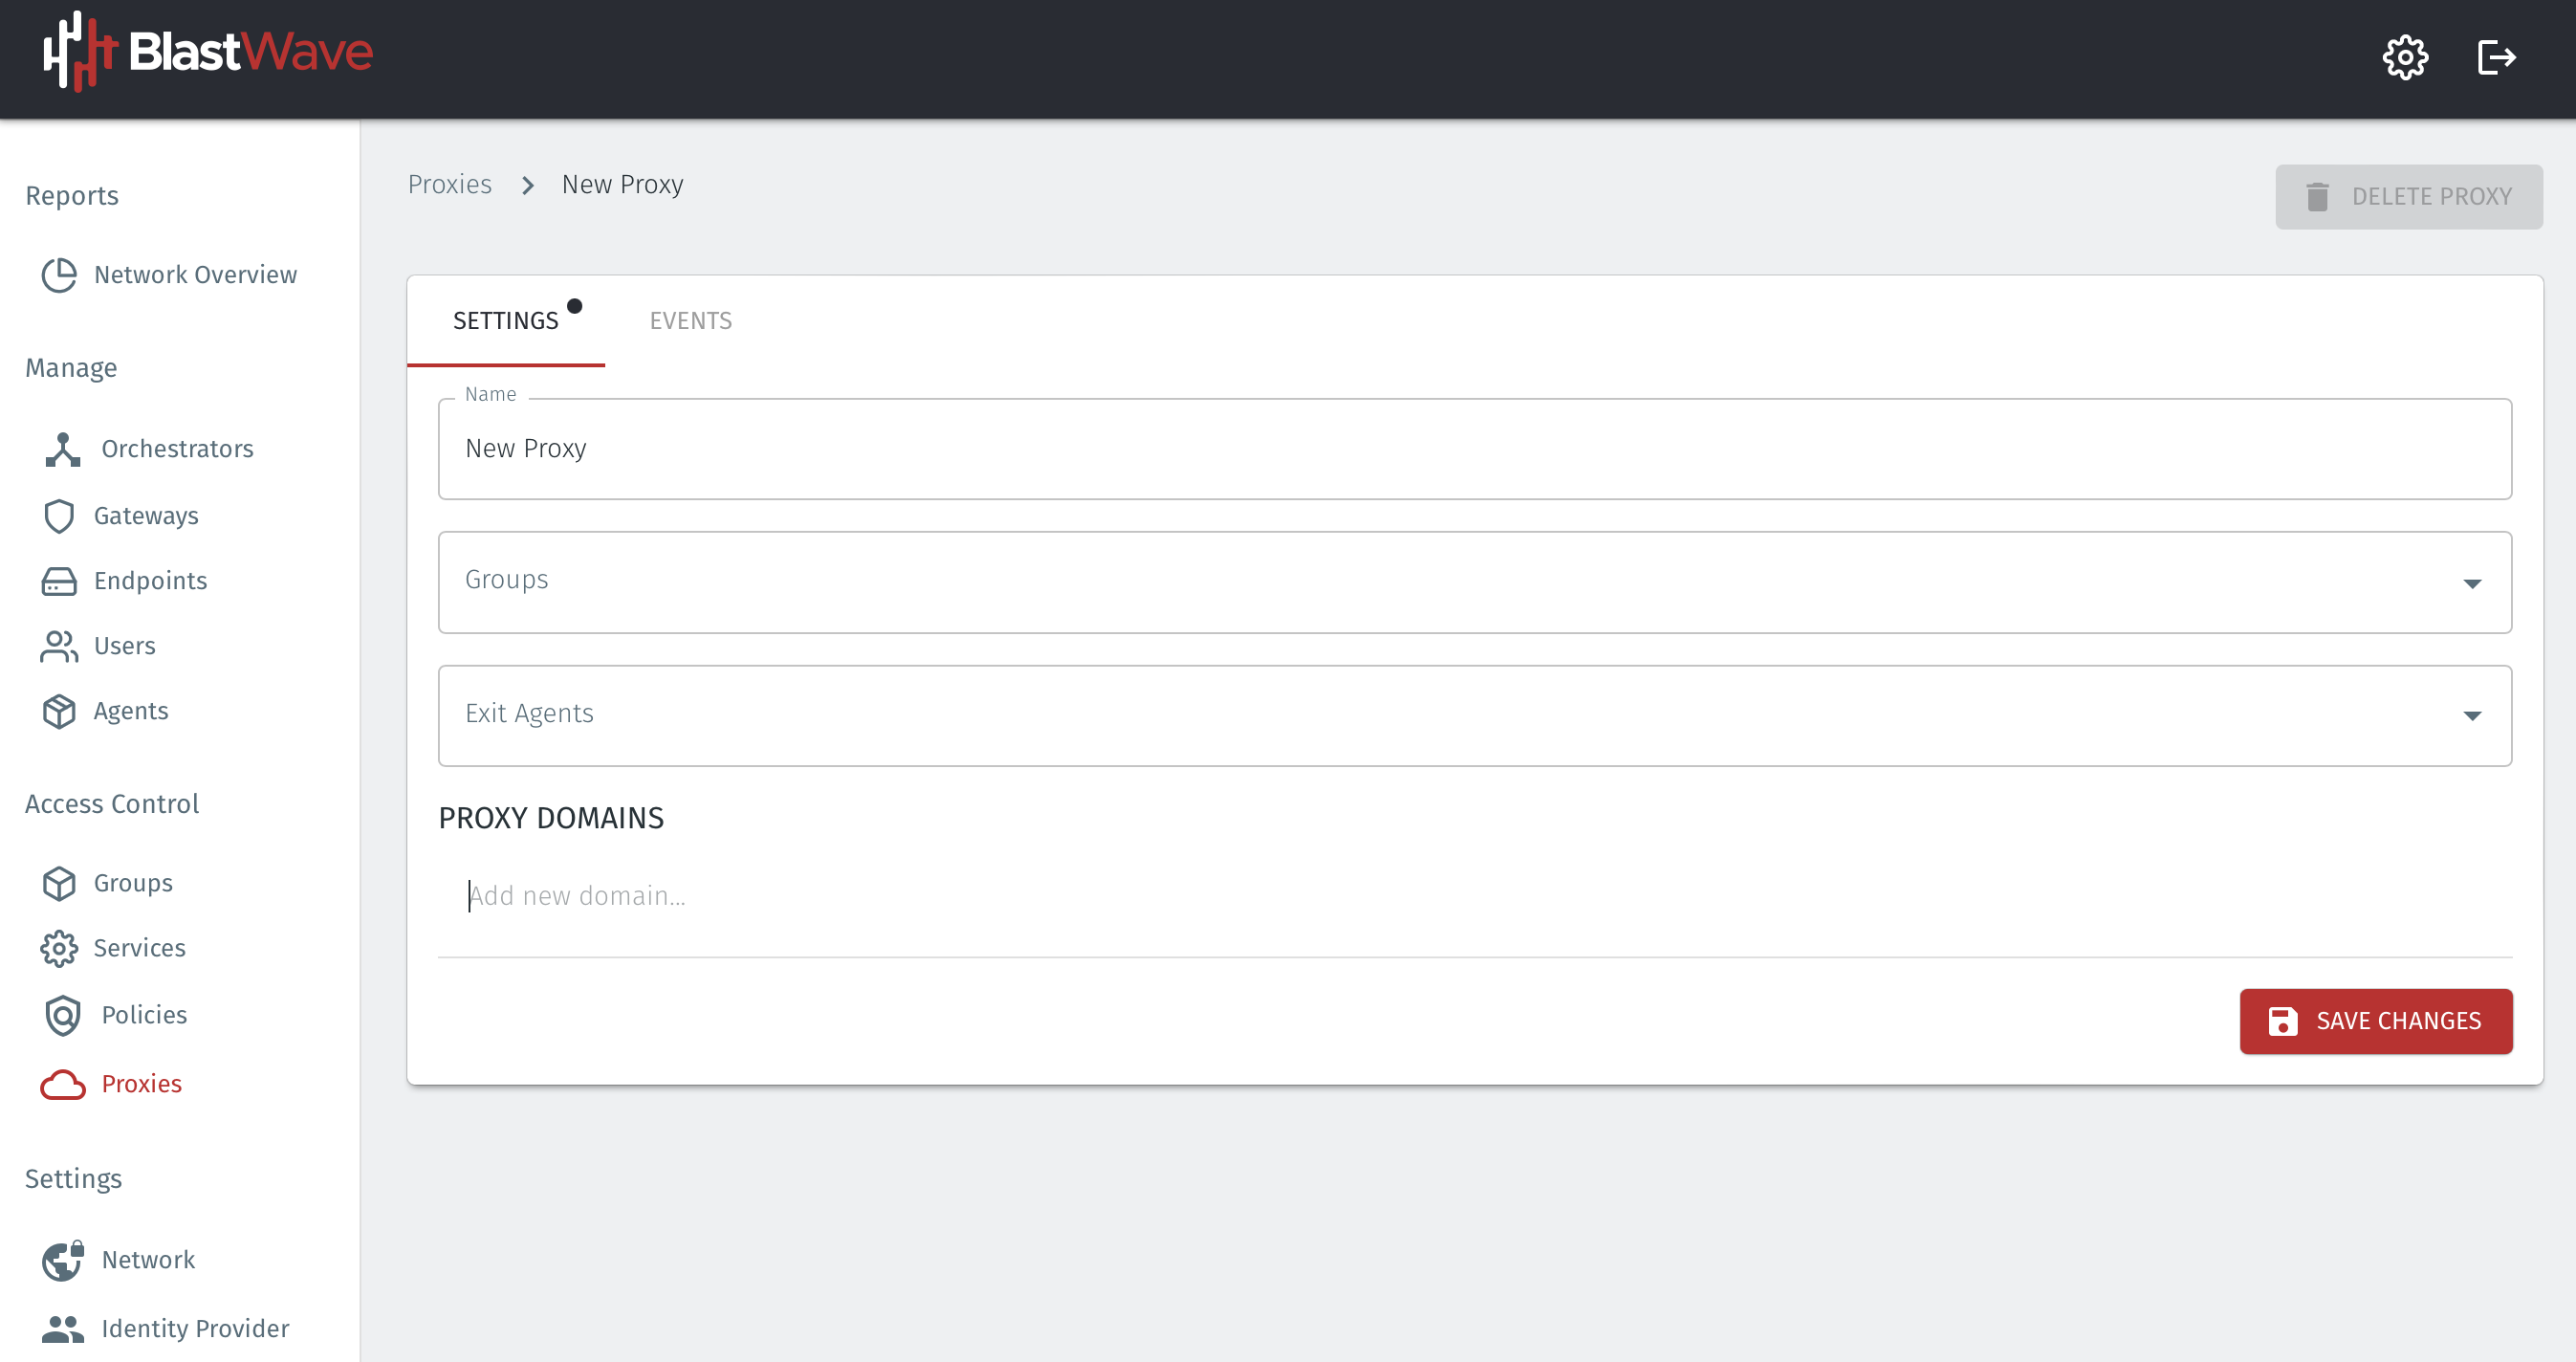
Configure the proxy settings as follows:
Enter the name for your proxy in the Name field.
Select the User group in the Groups field. This represents the groups of users who will use the proxy. You can create and modify groups in the Groups menu later if you have not already created one.
Select the Agent where you want the proxied traffic to exit the BlastShield™ network in the Exit Agents field. This will be the Agent which you created in Step 1. You can enter multiple Exit Agents here, and they will all be returned to the browser.
In the PROXY DOMAINS section, add the domains you wish to proxy, one at a time. Hit enter after you input each domain, and enter the next domain on the following line.
Click Save to save the proxy configuration.
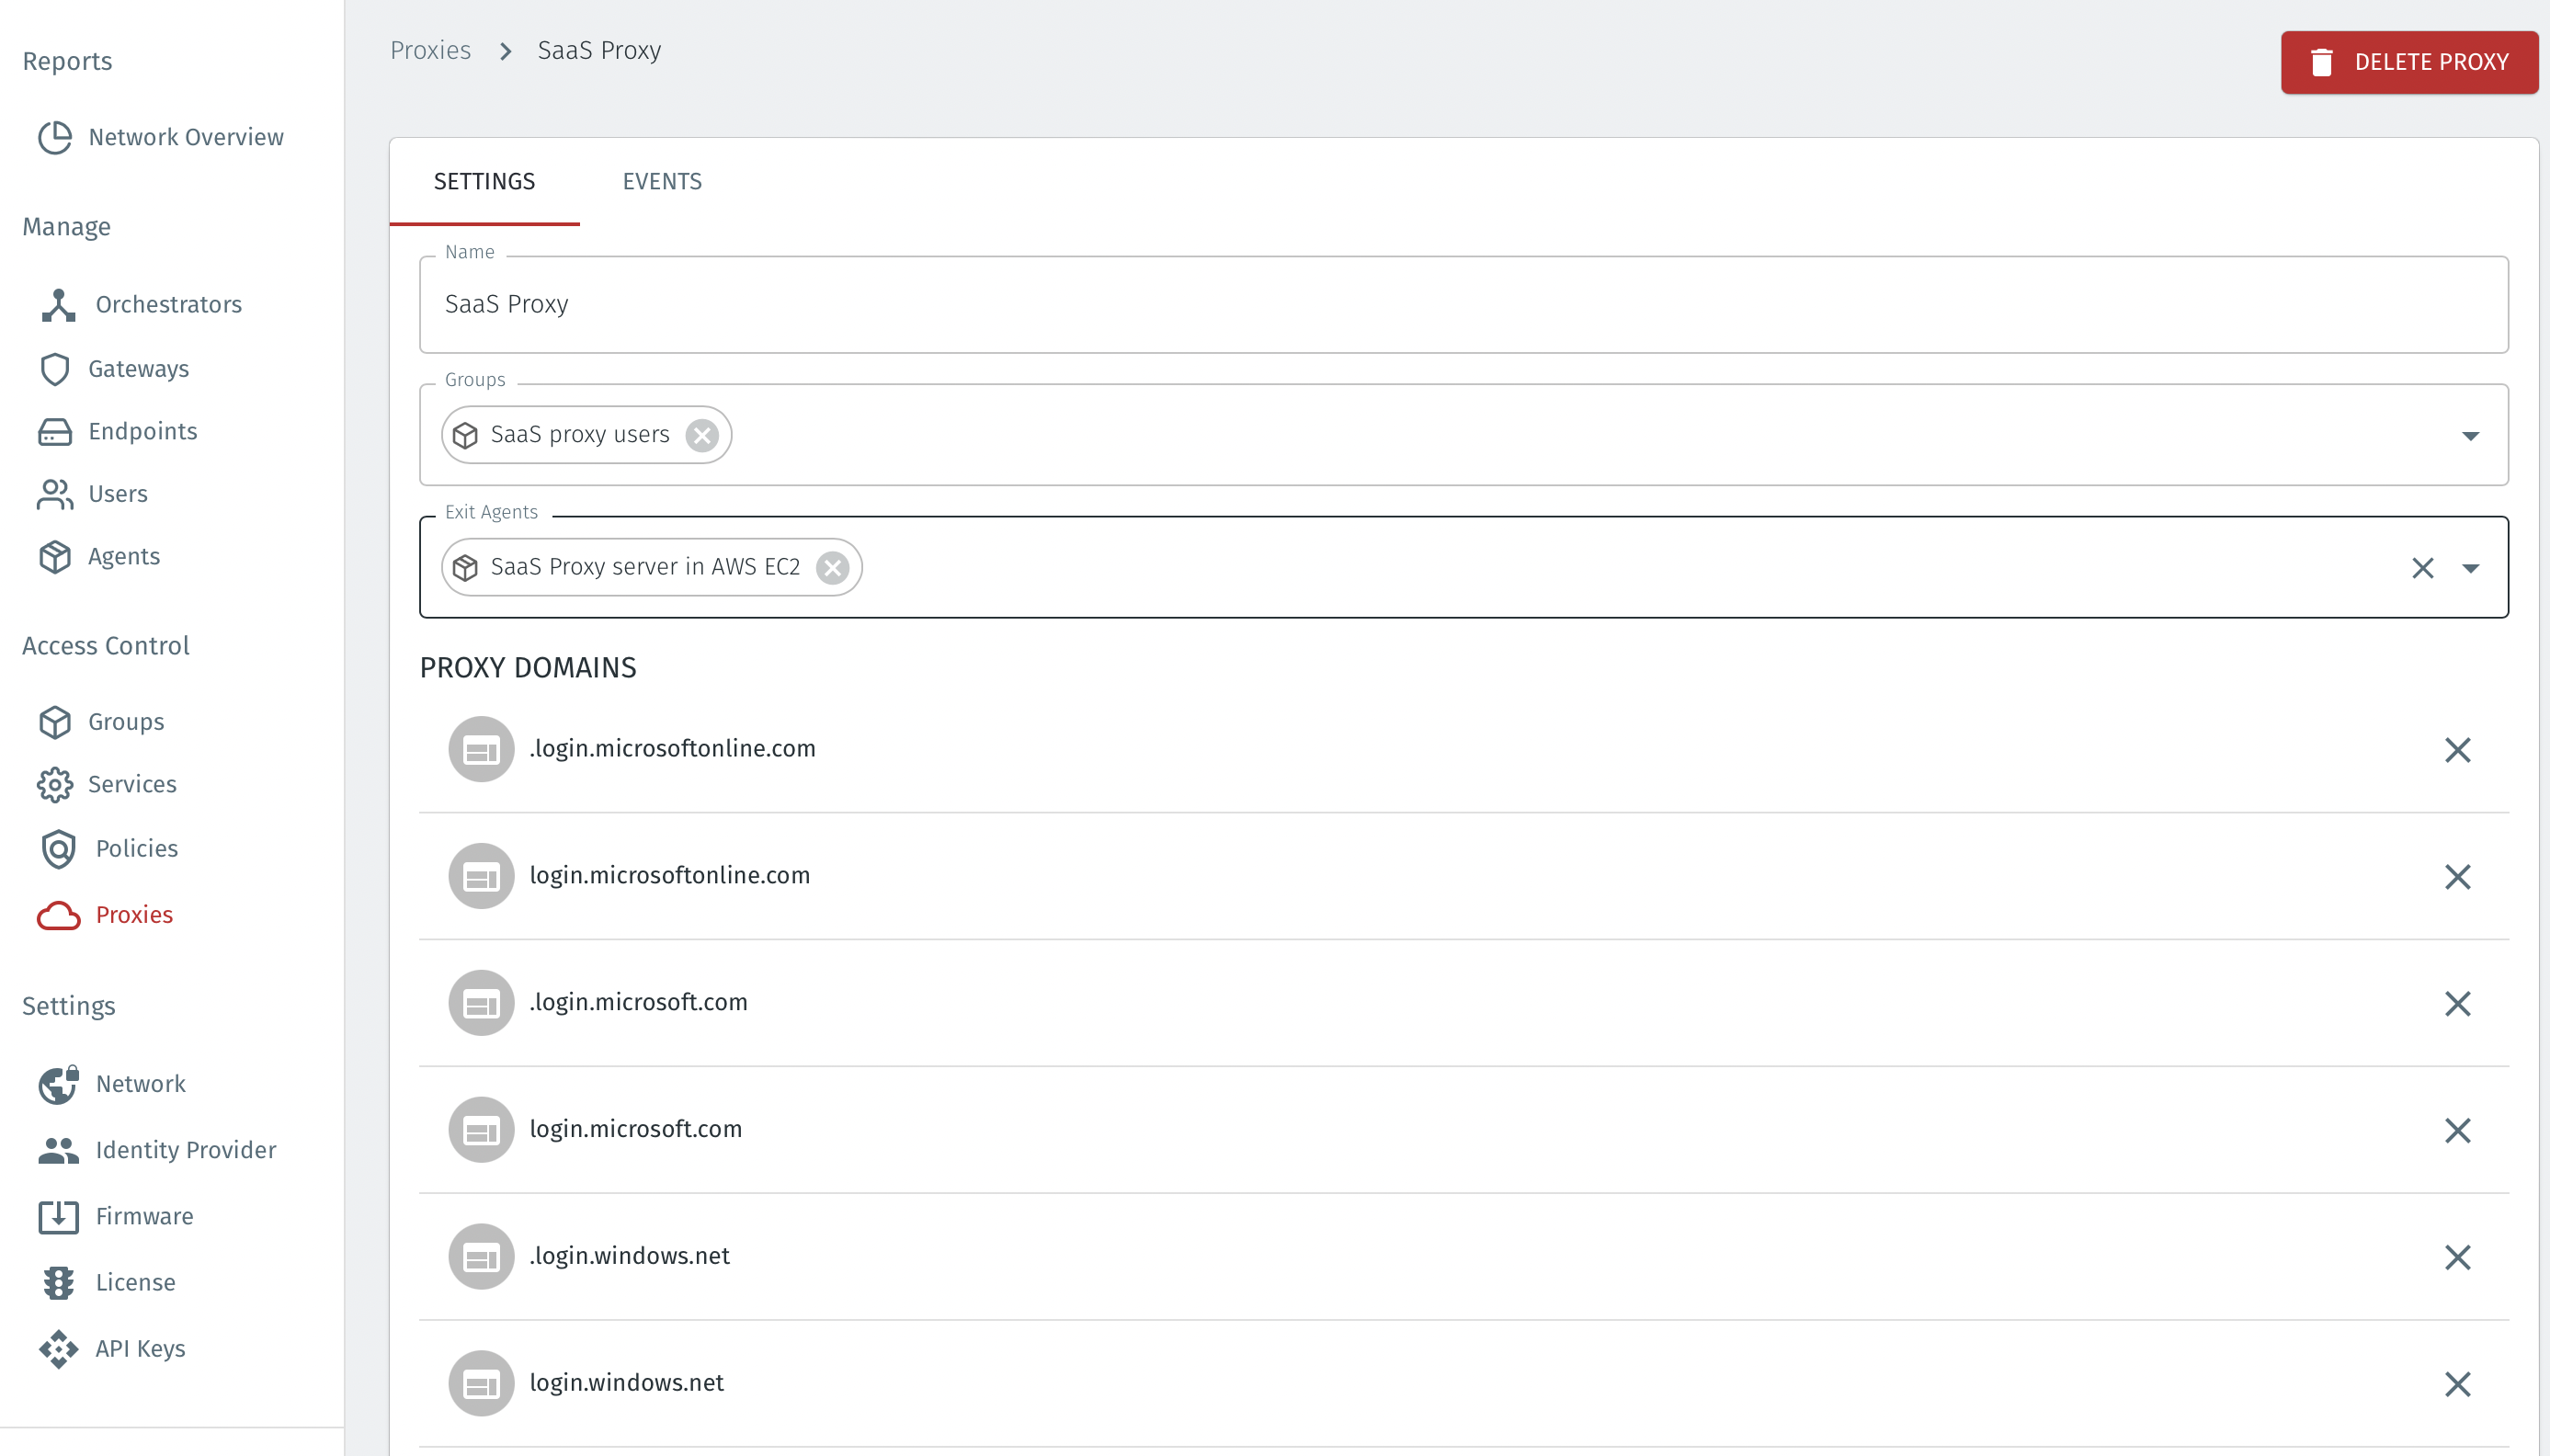
An example configuration is shown below.
BlastShield uses Web Proxy Auto-Discovery (WPAD) protocol to deliver the proxy information to the user's web browser. On Windows web browsers this is usually enabled by default. On macOS it has to be enabled in the network settings.
In the Orchestrator, verify that the target users are in the proxy user group.
Choose the Groups menu on the Orchestrator and select the group which is configured in the Proxy. In the Group, verify that the correct users are listed in the MEMBERS section, and add them if necessary by clicking on the ADD MEMBERS button.
On the user's computer, verify the proxy configuration.
Ensure the user has 'automatic proxy discovery' enabled in their web browser. Depending on the browser and OS, this may be a system wide network setting, or a browser specific setting.
Restart the user's web browser.
The user should connect to BlastShield™ using the passwordless MFA.
Once the user has connected to BlastShield™, their web browser will automatically detect, download and compile the proxy settings from the BlastShield™ Proxy. Websites which match the provisioned domains will be sent through the BlastShield™Exit Agent.
Step 4: Configure conditional access rules on your SaaS application.
On your SaaS application, enable conditional access rules to limit access to only connections with a source IP address of the Exit Agent used in the BlastShield™ Proxy. This is the Public IP address of the Agent from Step 1.