AWS Gateway configuration
This article will help you learn how to configure an AWS virtual BlastShield™ Gateway after you have installed it
Summary
There are three main steps to this workflow as described below.
Create Endpoints on the Gateway for your virtual instances.
Configure a security group for your protected instances which allows inbound traffic from from the BlastShield™ Gateway. Add this security group to each protected endpoint.
Configure access policy for zero trust access and micro-segmentation in the Orchestrator.
This process is explained in more details in the following steps.
Step 1: Create Endpoints on the Gateway for your EC2 instances.
For each of the EC2 instances that you want to securely connect to the BlastShield™ Gateway, you must create a corresponding Endpoint for it on the Gateway.
Follow this procedure to learn how to create an Endpoint on the Gateway for each virtual instance that you want to protect. From the Orchestrator, perform the following:
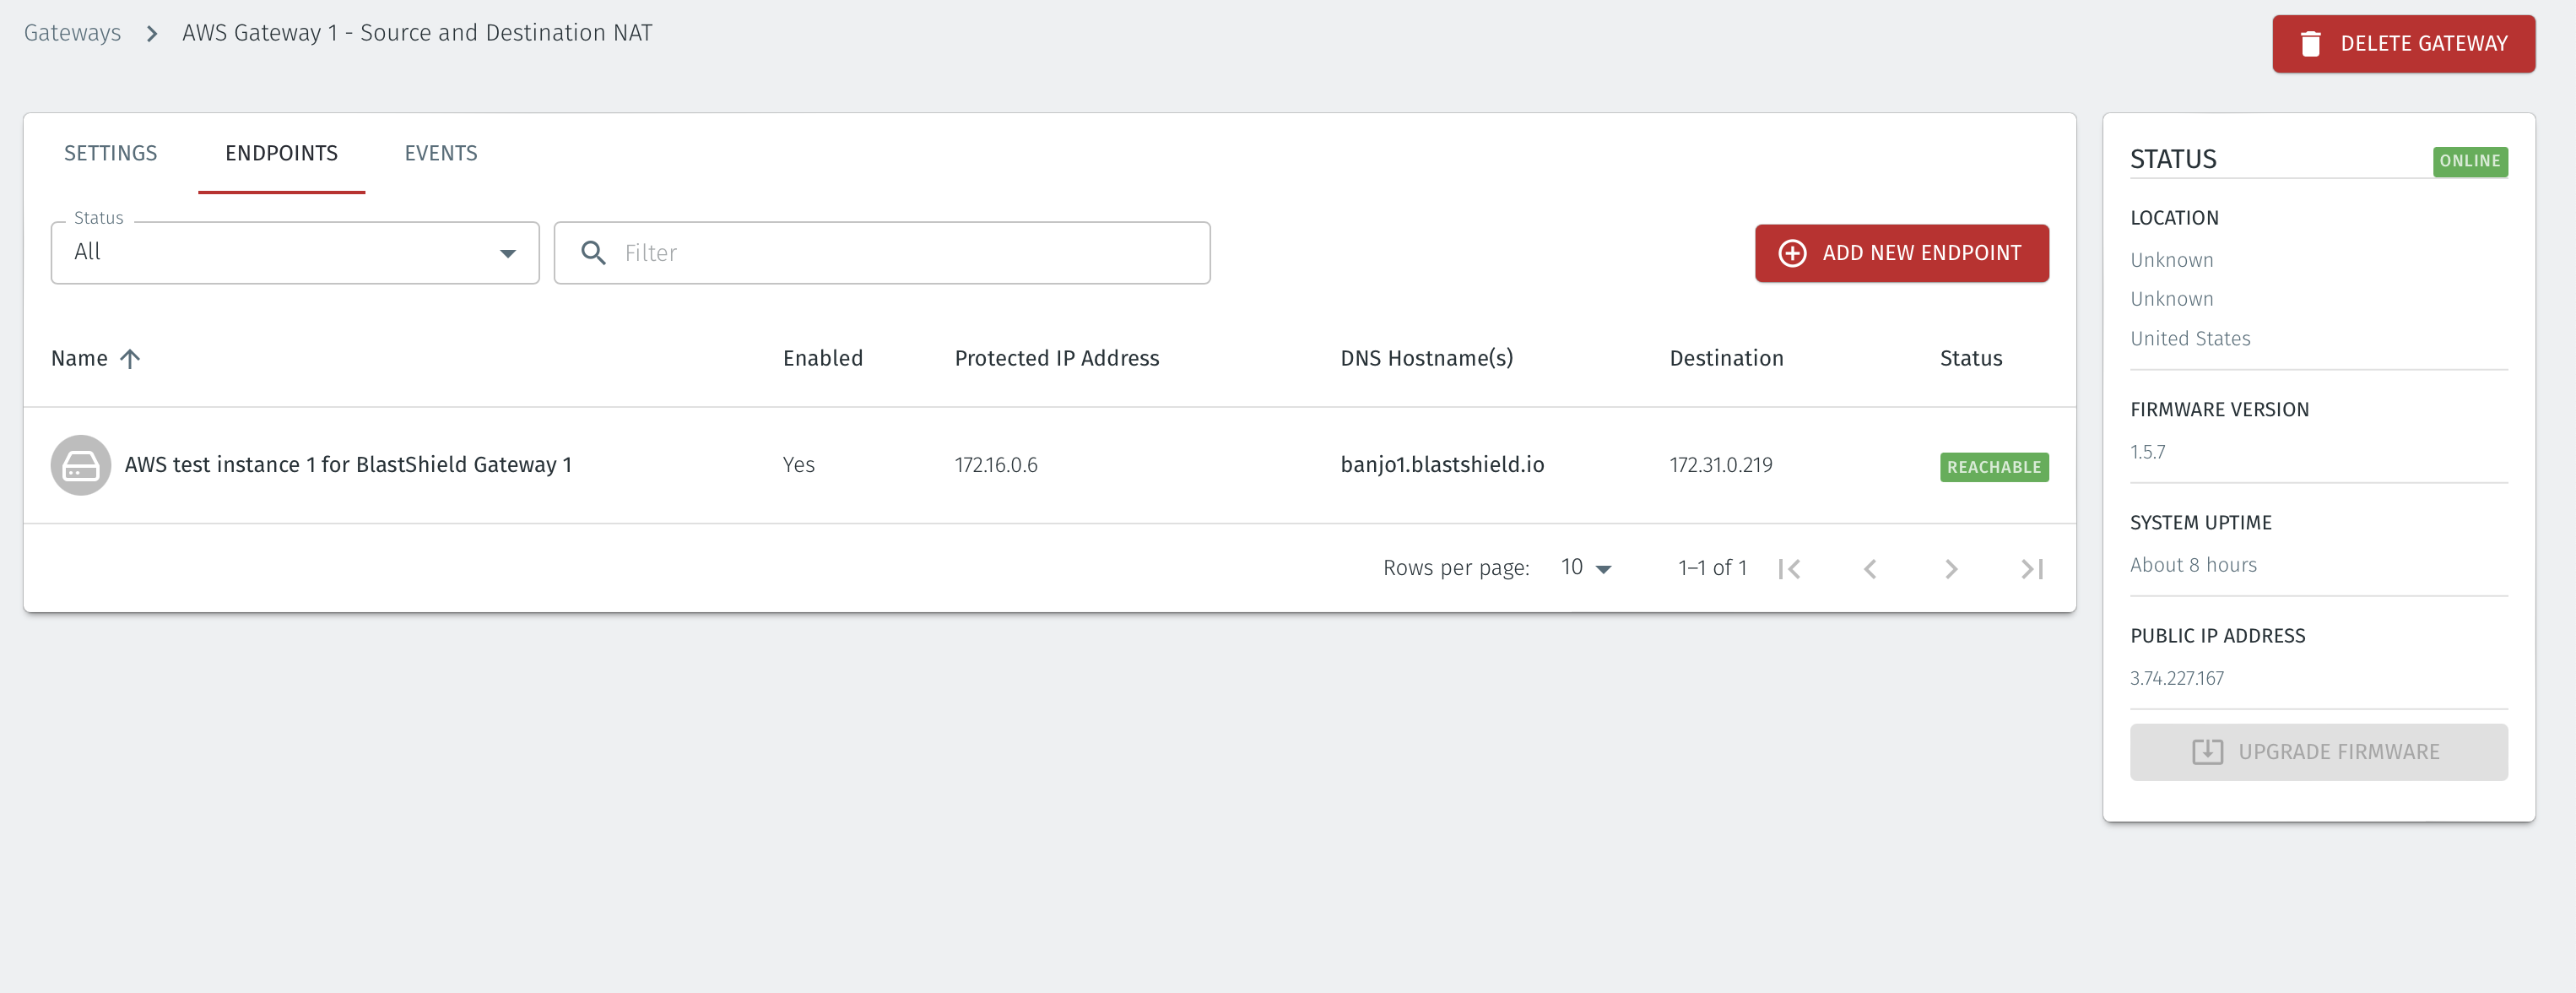
In the Orchestrator, select the AWS Gateway and click on the Endpoints tab.
Click the 'Add New Endpoint' button and click on the 'Endpoint Enabled' button.
Enter a name for the Endpoint in the Name field.
In the DNS Hostname field, enter a hostname for the BlastShield Network.
In the Destination field, enter the EC2 instance's Private IPv4 address or hostname.
Click on 'Save Changes'.
The status of the Endpoint will show as 'Online'.
Now move on to the next step to configure the AWS security groups.
Step 2: Modify the AWS Endpoint Security Group
You must now modify the Endpoint Security Group Rules in AWS to allow inbound access from the BlastShield™ Gateway. From the AWS EC2 Console, perform the folowing:
Select the Endpoint instance's Security Tab. From the 'Security details' table select the Security Group.
Click on the 'Inbound rules' tab and then click on 'Edit inbound rules'.
Add a new rule to allow all traffic from the BlastShield™ Gateway Security Group and click on 'Save rules'.

Since BlastShield™ is a zero-trust solution, you will now need to configure an access policy. Move onto the next steps to learn how to do this.
Step 3: Configure access policy
Next you must add the Endpoints to a Group and then add that Group to a Policy to enable access to the Endpoint.
To do this, perform the following steps in the Orchestrator to first create groups and then create a policy:
BlastShield™ policy works by creating two groups, typically one which defines a user group and a second group which defines an Enpoint and/or Host Agent group. This approach will also allow machine-to-machcine policy. The groups are used to micro-segment the assets and the users. The two groups are linked together with a policy which defines the connectivity permissions betweeen the two groups. The following section explains how to create a group and add members to it. You may create multiple policies and groups.
Create a group for the Gateway endpoints and/or Host Agents
Create a group for the users
Link the two groups with a policy to define the connection permissions between the two groups.
The following section describes how to create the groups.
From the Orchestrator, select "Groups" from the left menu.
Select "Add New Group" from the Group List.
Enter a name for the new Group.
To add members to the new group, click the "Add Members" button.
If you adding users to the group then select the desired Users which you want to be associated with the Group from the "Users" box.
If you are adding Agents to the group then select the desired Agents which you want to be associated with the Group from the "Agents" box.
If you are adding Gateway Endpoints then select the desired Endpoints from the "Endpoints" box.
Alternatively, you can leave the members list empty and add/modify new members later.
Click "Add Members" to save the members.
Click "Save" to save the new group.
Repeat, if required, to ensure you have one group for your endpoints and one group for your users, which is the minimum you will need in order to define the access policy.
Please refer to the following video, which is an example of creating one group for your users and one group for Host Agents.
Note
Users and Agents must be a member of a group for them to be used in a policy.
Select "Policies" from the left menu.
Select "Add New Policy" from the Policy List.
Enter a name for the new Policy.
Select desired "From" Groups to be associated with the new Policy.
Select desired "To" Groups to be associated with the new Policy.
Save the new Policy.
Policies are directional, so that you can control the direction in which connections may be initiated. Typically for remote access use-cases your policy would be from the "user group" to the "server group" so that users may start connections to the servers, but servers cannot start connections to users. You can create bi-directional permissions by using two policies.
The following video shows an example of creating an access Policy between a group of remote workers and a group of servers. The policy gives the remote workers authorisation to access the server group.