AWS Virtual Gateway Installation - source + destination NAT mode
This article explains how to install the BlastShield™ Gateway AMI in AWS EC2 where the Gateway is configured with IP Address (Source+Destination NAT) addressing mode.
Using source + destination NAT mode will allow you to connect AWS endpoints to the Gateway without modifying the routing of the AWS endpoints.
Remote users will be able to connect in to the AWS endpoints over the BlastShield™ network.
The AWS endpoints will not be able to initiate connections out over the BlastShield™ network.
Installing a Blastshield™ Gateway involves the following steps:
Install the Gateway AMI in AWS.
In this step you will create a Gateway instance in the Orchestrator and copy the invitation information. You then launch the Gateway AMI in your AWS EC2 account and paste the invitation information into the AMI's user data field.
Create endpoints in the Orchestrator.
For each asset to be protected by the Gateway, you will create an endpoint instance in the Orchestrator. The endpoint configuration identifies the EC2 instance by its private IPv4 address. The Gateway will NAT the BlastShield™ IP address to the EC2 private IPv4 address.
Modify the EC2 endpoint security group rules.
The security group rules for the EC2 endpoints are modified to allow inbound access from the BlastShield™ Gateway. This will allow authorized BlastShield™ users to access the endpoints over the protected network.
Configure an access policy.
BlastShield™ is a zero trust solution and without policy authorization, users or other nodes will not be allowed to access a protected endpoint. Add the endpoint(s) to a group (or multiple groups) and then add that Group to a Policy to enable access to the endpoint.
Create a new Gateway in the Orchestrator.
Connect to the Orchestrator and select Gateways from the left Menu.
Select Add New Gateway.
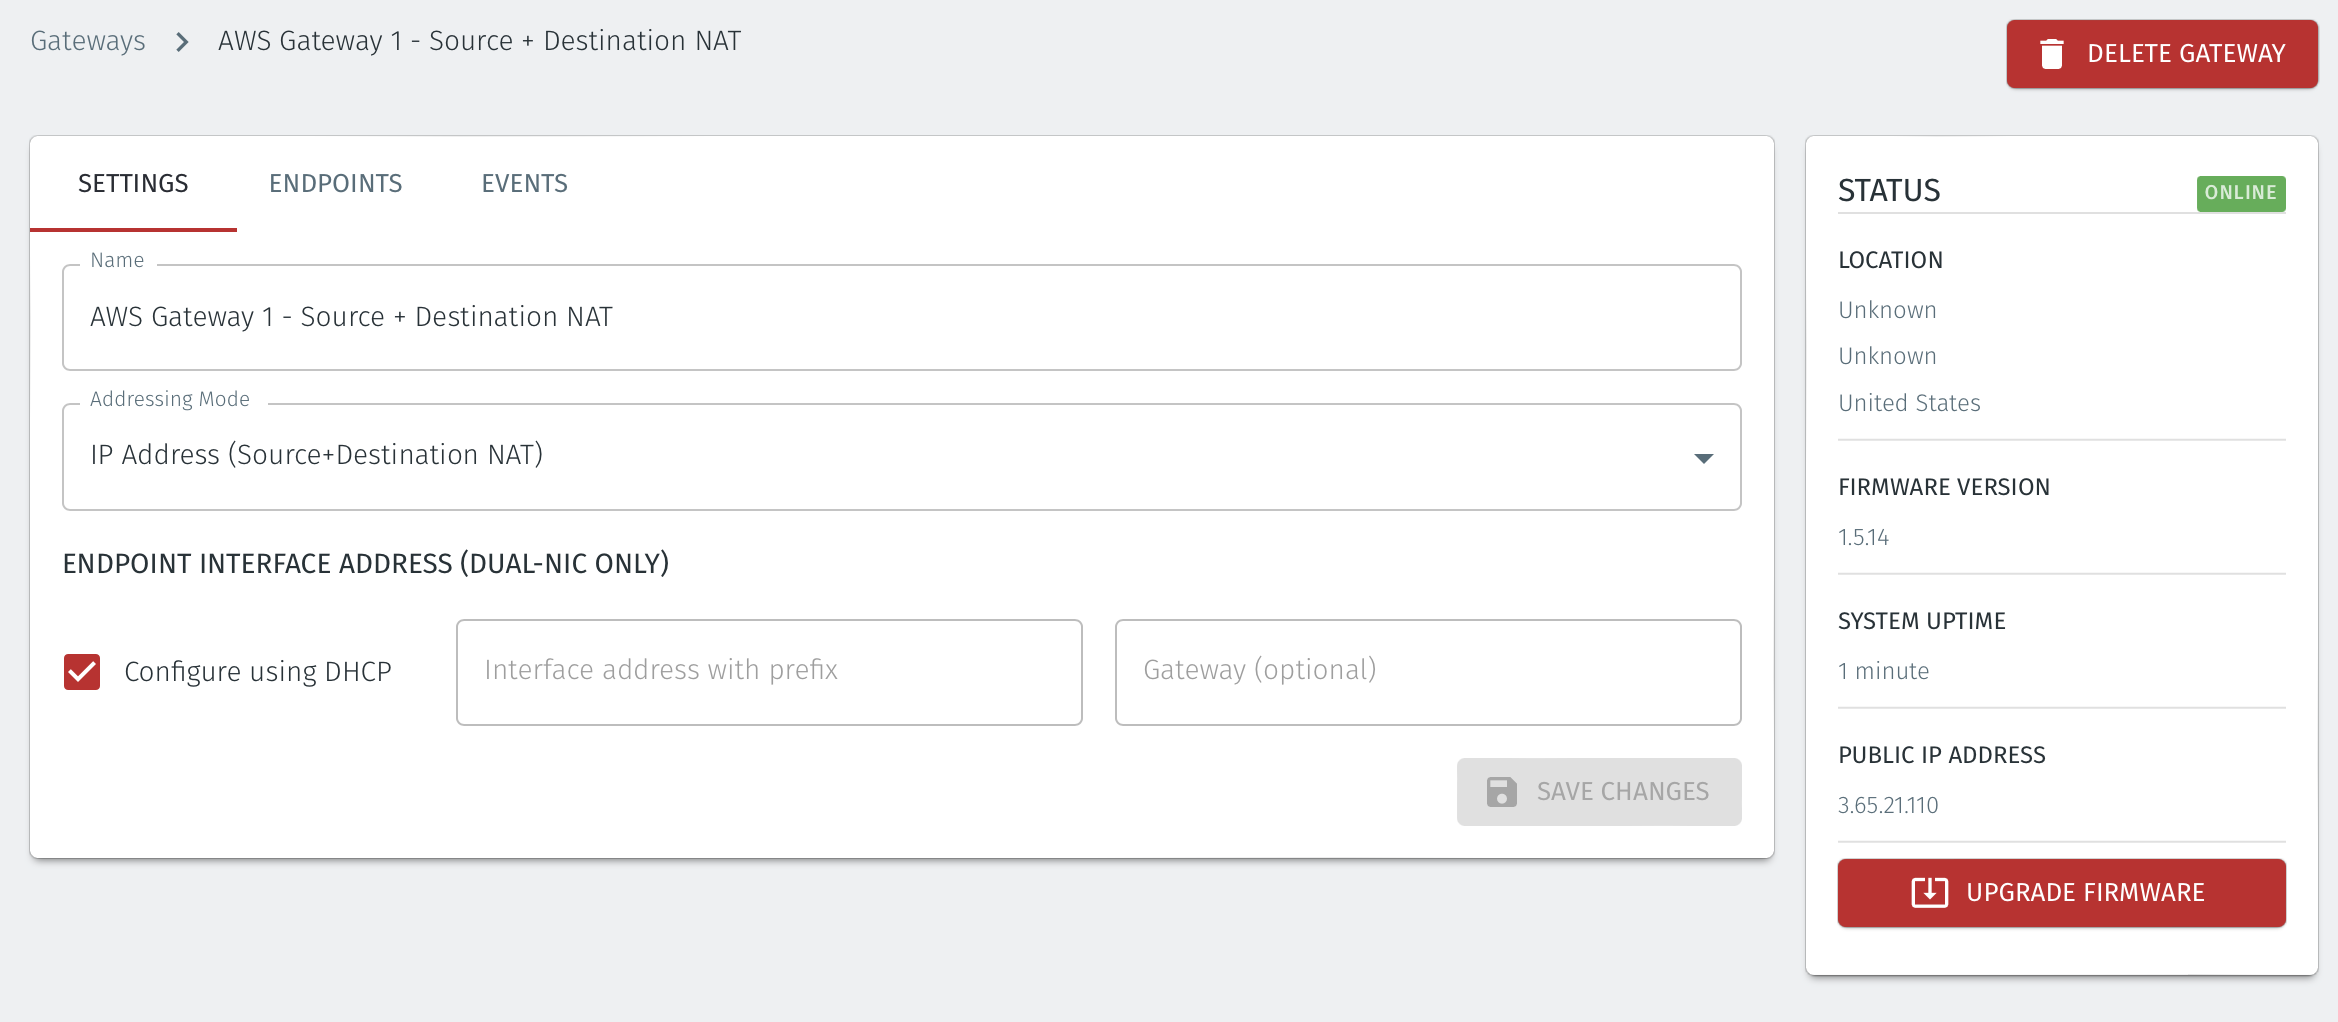
Enter a name for the new Gateway.
Select the Addressing Mode for the Gateway to be IP Address (Source+Destination NAT).

Click the 'Save and download invitation' button and choose the option to 'Save and copy invitation contents to the clipboard'.
The copied invitation information will be needed later during the configuration of the gateway AMI.

Launch the BlastShield AMI instance.
Go to the AWS EC2 Dashbord >> Instances.
Choose 'Launch instance' and add a name for the instance.
Then go to the 'Application and OS Images (Amazon Machine Image)' box.
Search for the name 'blastshield' in the search function and choose the latest available BlastShield™ Orchestrator/Gateway instance.
Click on 'Select'.

Choose an instance type and key pair.
Next, go to the 'Instance type' box.
Select a t3.small instance.
Set your key pair as required.

Configure the network settings.
Go to the network settings box and configure the following
Network: Choose your desired VPC.
Subnet: Choose your desired subnet.
Auto-assign public IP: Enable.
From the security group section, configure as follows:
No inbound rules are required.
For outbound, ensure all traffic is allowed to all destinations.

Configure Storage
Add Storage: leave as default
Click next
Add the registration information into the user data field
In the 'Advanced details' box, scroll to the 'User data' section at the bottom.
Select User Data.
Paste the invitation information which you copied from the Orchestrator in step 1 into the User data window.
Leave the 'User data has already been base64 encoded' box unchecked.

Review and Launch the instance.
Click launch to launch the AMI.
Monitor your instance in the EC2 console until it has launched successfully.
Once the Gateway is online, the online status will be shown in the Orchestrator.
In the Orchestrator, select the AWS Gateway and click on the Endpoints tab.
Click the 'Add New Endpoint' button and click on the 'Endpoint Enabled' button.
Enter a name for the Endpoint in the Name field.
In the DNS Hostname field, enter a hostname for the BlastShield Network.
In the Destination field, enter the EC2 instance's Private IPv4 address or hostname.
Click on 'Save Changes'.
The status of the Endpoint will show as 'Online'.

Select the Endpoint instance's Security Tab. From the 'Security details' table select the Security Group.
Click on the 'Inbound rules' tab and then click on 'Edit inbound rules'.
Add a new rule to allow all traffic from the BlastShield™ Gateway Security Group and click on 'Save rules'.

BlastShield™ policy works by creating two groups, typically one which defines a user group and a second group which defines a group of protected assets. The groups are used to microsegment the assets and the users. The two groups are linked together with a policy which defines the connectivity permissions between the two groups. The following section explains how to create a group and add members to it. You may create multiple policies and groups.
Create Groups
From the Orchestrator, select "Groups" from the left menu.
Select "Add New Group" from the Group List.
Enter a name for the new Group.
To add members to the new group, click the "Add Members" button.
If you adding users to the group then select the desired Users which you want to be associated with the Group from the "Users" box.
If you are adding Agents to the group then select the desired Agents which you want to be associated with the Group from the "Agents" box.
If you are adding Gateway Endpoints then select the desired Endpoints from the "Endpoints" box.
Alternatively, you can leave the members list empty and add/modify new members later.
Click "Add Members" to save the members.
Click "Save" to save the new group.
Repeat, if required, to ensure you have one group for your endpoints and one group for your users, which is the minimum you will need in order to define the access policy.
Please refer to the following video, which is an example of creating one group for your users and one group for Host Agents.
Create a Policy to link your Groups
Note
Users and Agents must be a member of a group for them to be used in a policy.
Select "Policies" from the left menu.
Select "Add New Policy" from the Policy List.
Enter a name for the new Policy.
Select desired "From" Groups to be associated with the new Policy.
Select desired "To" Groups to be associated with the new Policy.
Save the new Policy.
Policies are directional, so that you can control the direction in which connections may be initiated. Typically for remote access use-cases your policy would be from the "user group" to the "server group" so that users may start connections to the servers, but servers cannot start connections to users. You can create bi-directional permissions by using two policies.
The following video shows an example of creating an access Policy between a group of remote workers and a group of servers. The policy gives the remote workers authorisation to access the server group.